Eep! A Mouse!

I love making new things, and especially love when customers request something new. It gives my brain a workout and breaks up my sewing routine.

Here is a recent request - a mouse! It is crafted from hand dyed organic bamboo velour, and its facial features are hand embroidered.

It is available for sale on Etsy


Hornworm Hunting

If you grow tomatoes, you know that tomato hornworms are the bane of your existence. They can (and will) defoliate a tomato plant quickly and easily. They will also start chomping on your green tomatoes - the same tomatoes you've been waiting to ripen. The same tomatoes you've been looking forward to for months. 

So how to spot a hornworm: there are 2 telltale signs hornworms have taken up residence in your tomatoes. 1 is leaf damage, and the other is frass (super fancy name for poop). 


Frass (or poop) looks like wee little grenades. It can be black or green. There may be a little or a lot, depending on how long your hornworm has been noshing on your plants.


Usually, if you look straight up above the frass, you will see the hornworm. However, the one on this plant has been moving around a lot so I actually had to hunt him down.


It takes a LOT of hunting sometimes to find them. They blend it very very well with a tomato plant, making them difficult to find. Peek-a-boo! I seeee you!


Now, if you're a brave little toaster, you can pull him off of the leaves. They don't bite, and the horn is fake. But, if you are a giant wuss like me you have a couple of options:

1. Remove the leaf the hornworm is on, taking the hornworm with it.
2. Enlist a child to pull the hornworms off your plants, and pay them a dime for every worm they get.

In this case, I took the leaf with the hornworm on it. My son usually gets them for me, though.


*Shudder* That one is still a baby, believe it or not. They can get 4+" long and will eventually turn into a moth.

You can drop the whole thing in a bucket of soapy water as hornworms aren't great swimmers. You can squish them, but they make a bit of a mess because they're so big. If you're lucky enough to have chickens, they really enjoy them as a tasty snack.


I wipe the frass of the leaves so if I don't think there is another worm on the plant at a later date. I check my plants at least twice a day.

You can use Bt (Bacillus thuringiensis kurstaki) ton control the population, which is safe for all critters that aren't a caterpillar. 

Happy Gardening!


Update

Admittedly, I am not the world's best blogger. I put off blogging until "tomorrow", only I don't exactly mean literally tomorrow. In my defense, the past 2 months have been very busy here at BLT central. My oldest 2 children both had birthdays, I've been preparing my garden for the summer crops, Easter happened (my 2nd busiest time of year) and my husband and I went on vacation together for the first time in nearly a decade.

Excuses aside, here is what I have to report - the garden is flourishing! Tomatoes are my main crop, followed by peppers, then peas, zucchini, cucumbers, and basil. 

For tomatoes, I'm growing:

- Yellow pear (one of my favorites)
- Cherry
- Black cherry
- Amish paste
- San Marzano
- Brandywine
- Yellow boy

I think that is it.

I planted them outside on April 14th, just a wee early. 


By May 5th, they were a little bigger and I put up the first line of the trellis.


I left for vacation on the 11th and returned the 17th. This is what I came home to!


Yellow pear, almost 3' tall already.


First jalapenos!

First tomato!


I look forward to posting lots of recipes in the very near future.

Do you have any suggestions for tomato varieties for me to try next year?


What a Difference a Few Weeks Make...

The last time I updated the blog, my tomato seedlings were wee little babies. They had just gotten their first set of true leaves, which meant it was time to move from the seedling container to individual containers. I'm now just a couple of weeks away from transplanting my babies to the garden, so I thought I'd share some photos.

This is my first time growing anything from seed like this. I tried to grow peppers and tomatoes from seed last year, but didn't have grow lights. I do have a sunny windowsill, but my plants got tall and leggy (i.e. useless). This year, I decided to go for the gold, and got some lights.

Here we go:


Just planted

1 week old tomatoes.
-

10 day old peppers. They are slow growers.


10 day old tomatoes, transplanted into their own containers. They were buried to their first set of leaves to help grow sturdier stalks. (Tomatoes will grow roots all along their stalks.)


2 week old tomatoes.


3 week old peppers. (SO SLOW!)


3 week old tomatoes.


4 week old peppers. Finally big enough for their own containers!


Same peppers, different angle. 4 weeks old.


4 week old tomatoes. We're about 2 weeks away from transferring them to the garden!


More 4 week old tomatoes.


Basil at about 1 week old.


Basil now! I'll be putting them in their own containers tomorrow, and transplanting in a couple of weeks.


I learn a TON every year gardening. Next year, I think I'll start my peppers a month or so earlier. From some reading I've been doing, I've found that peppers do better if they have 12 weeks or so indoors before going outside. I'll also not forget to start my basil at the same time as the tomatoes, meaning that my basil will be bigger at this time of year next year.

Are you growing anything this year? What sage advice can you pass on?


The Radish and the Pea

I am an impatient gardener. There. I said it. I believe seeds should sprout the very moment I put them in the ground, kind of like magic beans.

I believe tomatoes should magically appear on my tomato plants the second they are in the ground.

Seeds drive me nuts. I do better with bedding plants, because I at least know something is going on. I can see it. 

About 10 days ago, I planted sugar snap peas and radishes in my garden. I lovingly ensured their holes were the exact depth they should have been. And if you've ever seen radish seeds, you'd know that is a very tedious task.

In all of my glorious wisdom (and extreme excitement over garden season finally being here), I didn't check the weather before I planted my seeds. It poured the day after I put them in the ground - like a monsoon. 

Every day I have gone out to the garden and crouched down to check for growth. Every day I was disappointed, and completely sure that the rain washed all of my precious seeds away. So what did I do? I started a new batch inside.


That way, I can set out my super trusty bedding plants.

Fast forward to today. I was staring at my garden, mad at it. How dare you not sprout while still in my hands, seeds! I went outside to take the compost out. What do I find?

RADISHES!!!!!!


And a pea!


So after I did my rooster-walk around my garden, patting myself on the back on what an amazing gardener I am and congratulating myself on my incredible patience (note the sarcasm, folks) I took a walk around the rest of the house to see what else this early spring has to offer.

My strawberry plants are getting ready to flower!


I picked these up from the nursery because they reminded me of truffla trees (from The Lorax).


Inside, my oldest daughter and I repotted all of our tomato plants to their own containers now that they have their first set of true leaves. The first picture below is a Brandywine tomato, which has potato leaves instead of the traditional tomato leaf= (like the second photo).


Are you a patient gardener? What gifts has spring brought you?


How To: Build a Pea Trellis

I garden for a variety of reasons. One of the biggest ones is thriftiness - organic vegetables are incredibly expensive at the grocery store, especially enough to feed 5 people. I also love planting something and watching it grow.

I planted sugar snap peas this year, which is one of the earliest spring crops. They need something to climb on for maximum yield and maximum health of the plant. I didn't want to spend eleven bajillionity dollars on a bunch of stuff for the garden, so I came up with a pea trellis using things I had here at home.

You can use a variety of materials for a pea trellis, including twigs! I'll show you how to build a simple trellis using tomato stakes and cotton string.

What you'll need
- a pair of scissors
- a bunch of cotton string (I got this cone at JoAnn's on sale for $9)
- a bunch of tomato / garden stakes, a few feet high. These are usually about $1 each, cheaper if you get them at the end of the season. 

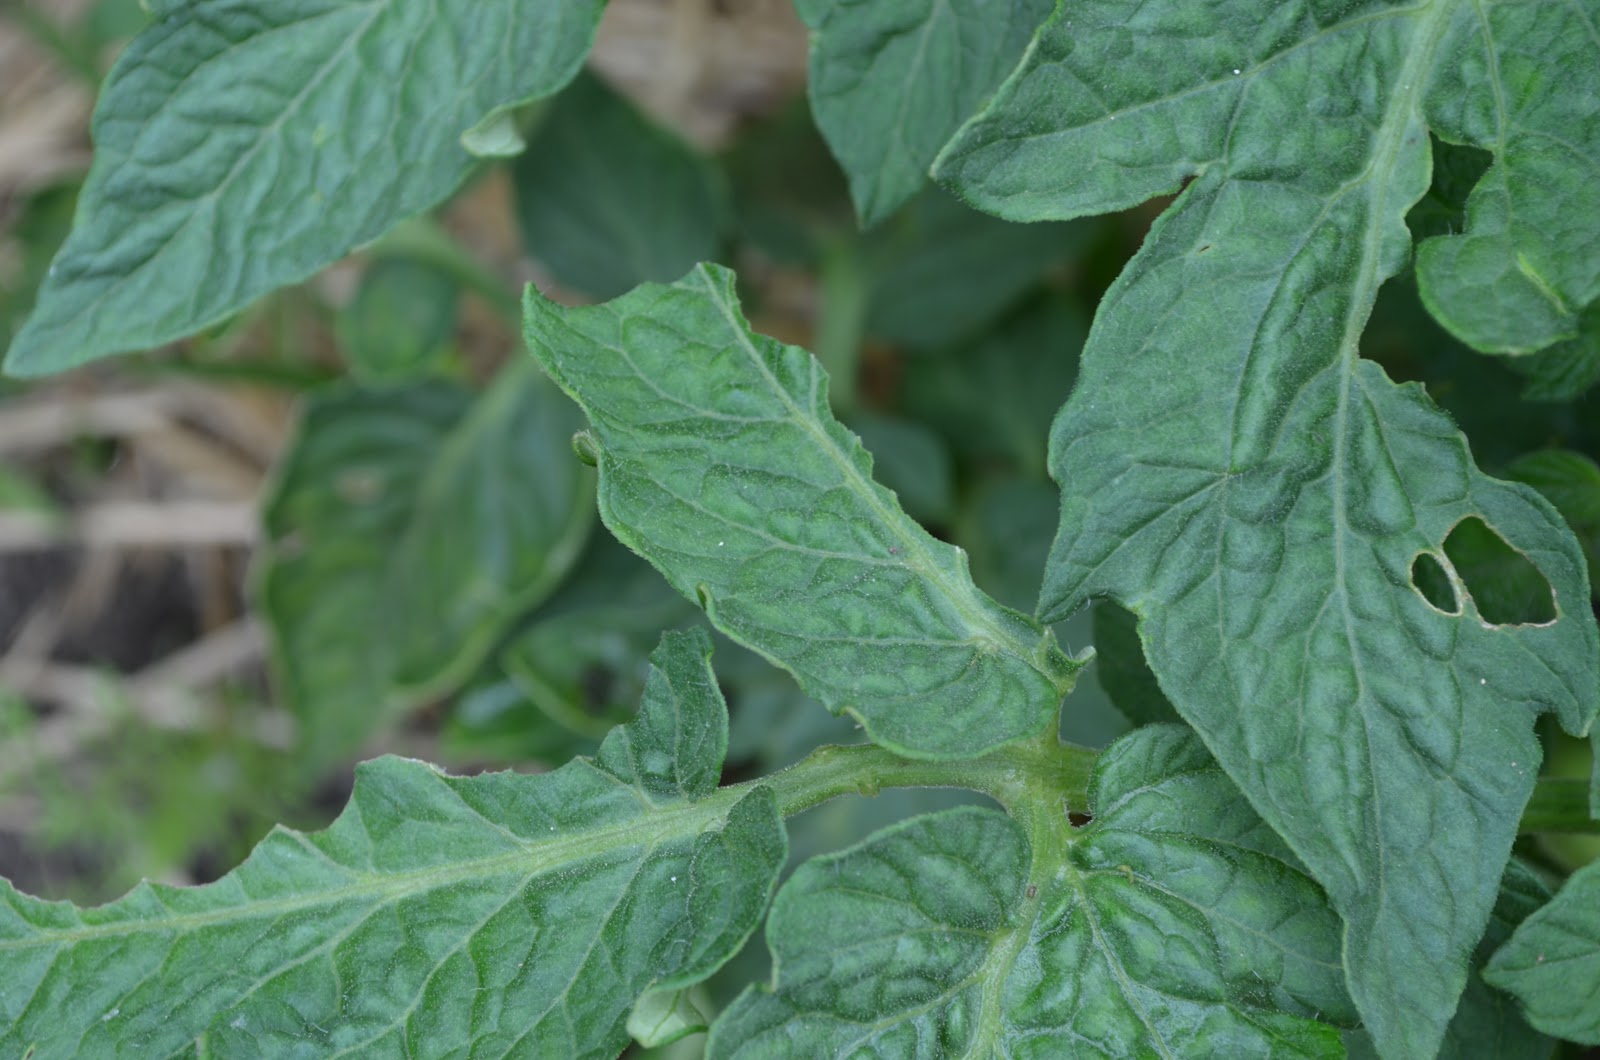
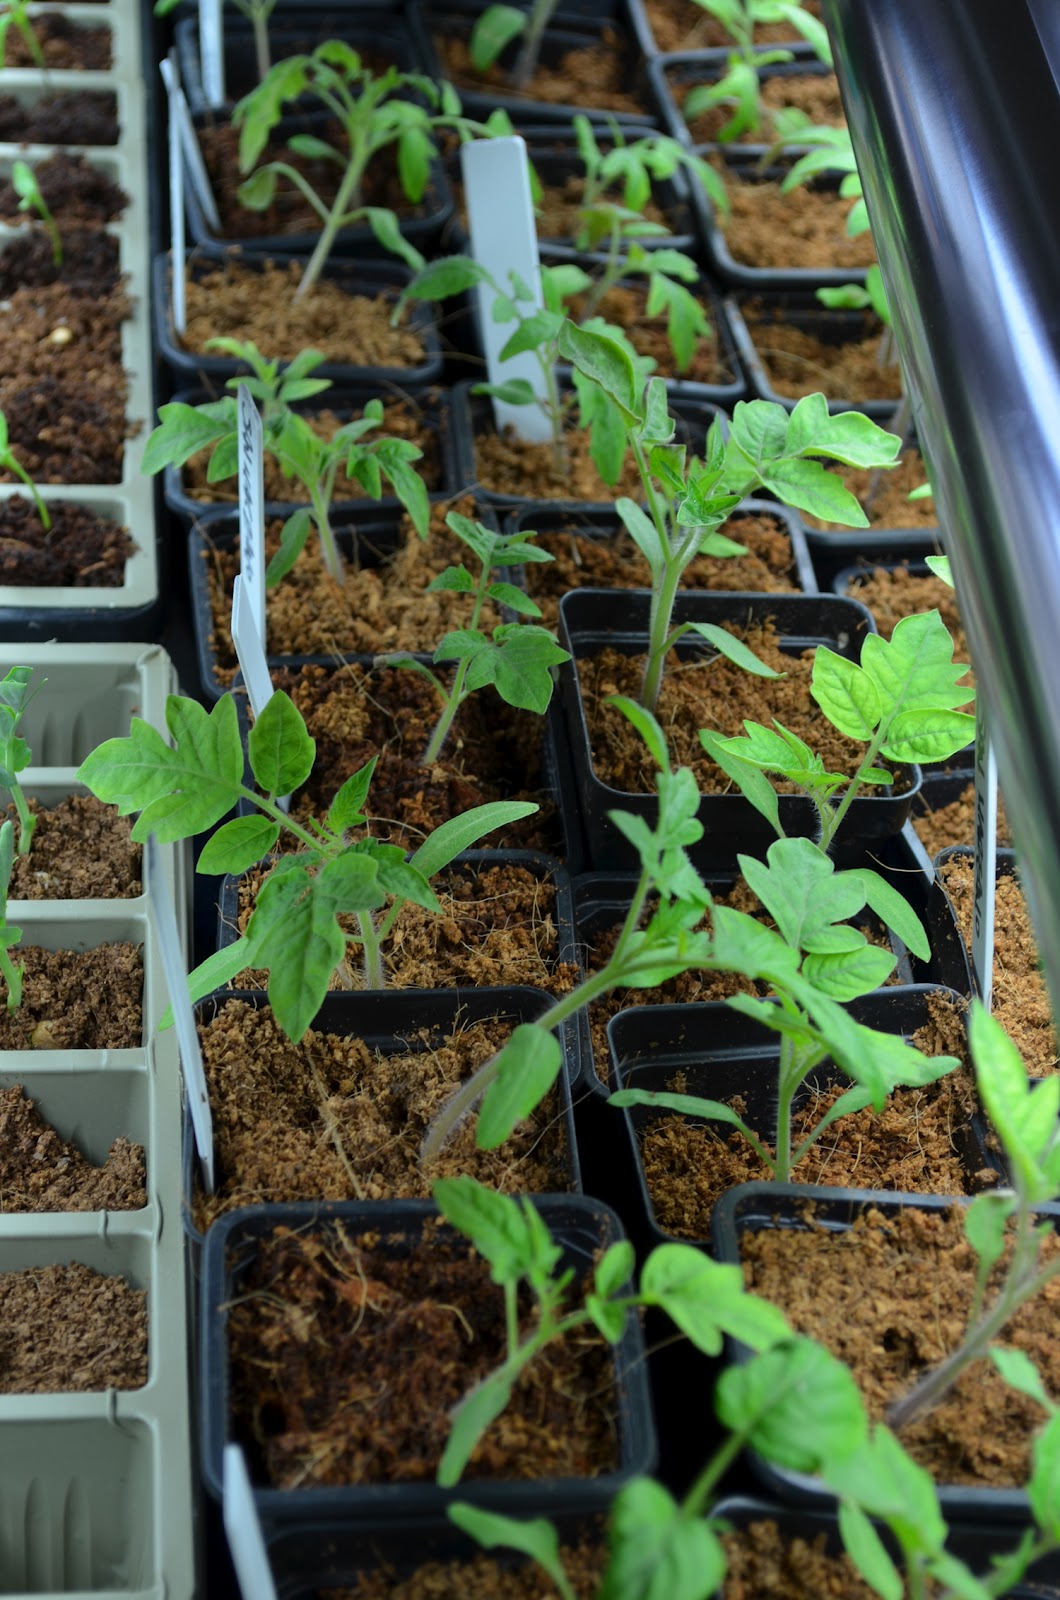
You'll need enough stakes to have one every 2-3 feet or so. 5 gave me enough for my first row, so I went and grabbed some more for the 2nd row from my garage. (I won't be using these for my tomato plants this year because frankly, they don't work. I'll be building a trellis for them as well.)


I'm a conventional gardener and put in rows. So just adjust if you use raised beds. 

Push 1 stake into the ground every 2-3 feet. I went down about 8" and then compacted dirt around the stake. You don't want them blowing around in a thunderstorm.


Taking your cotton string, tie one end to one of your end stakes. I use a bunch of knots. (DON'T cut your string from the cone yet, otherwise you may not have a big enough piece and that is super irritating.)

Wrap your string around the post you tied the knots to, and then wrap it around the next post in line. Repeat this for as many posts as you have in a row, tying it off at the end. Repeat for any other rows you have. Do this at least 2 more times (depending on the height of your stakes); one in the middle and one towards the soil.


You should have something that looks like this. (Should being the operative word here.)


Step in between 2 of your stakes. Tie one end of your yarn in the middle of 2 of your stakes, then wrap it around each horizontal layer. You're now making the vertical space.


Repeat all the way to the bottom string and tie off. Do the same for the rest of your stakes. Just tie a vertical line in between 2 stakes.

You should now have something that looks like this. Plant your peas according to the directions on your seed packet. Once they come up, they'll grab onto your trellis and cover it.


I'll post pictures once the peas overtake the trellis!


A Berry Good Sign!

My kids could eat their body weight in fruit everyday. The price of organic fruit, especially berries, is nuts. I love to garden, so last year I put in a strawberry patch.

I started with 6 plants and resisted every natural urge to let them flower. (It is recommended that you pick the flowers off of the plants the first year they're in the ground so they put more energy into a good root system instead of into making fruit.)

Those 6 plants sent off runners and made new baby plants. I let each plant form 3 babies, and I removed any additional runners. So this year I have 18 strawberry plants. I went out to weed the bed in preparation for the spring equinox, and found a "berry" good sign!


The presences of earthworms in the garden is a great sign that the soil is happy and fertile, which means healthy plants.

I also spied the plants starting leaf production again. I should start seeing flowers in a few short weeks!


Those weren't the only signs of spring. My chives are coming back in!


The roses are setting leaves.


Walking barefoot around the yard did remind me that we had a little over 3" of snow just 2 days ago. My husband spent the day building an igloo. Sadly, (or not so sadly. I vastly prefer warm weather to cold!) here is all that remains of it.


What is your favorite time of year? Are you planting a garden?