A New Year Brings New Things

Happy New Year!

This year, I have set some lofty goals for both my garden and my business. Both are going to require some changes to the way I've been doing things. But the possible outcomes have me incredibly excited!

Starting with my garden...ah, the garden. It is my absolute favorite place to be. While I love sewing, there is something incredibly peaceful about being in the garden. I don't mind the normal garden chores - I covet that time to myself. Threatening to make other people help weed the garden sure buys you some peace.

Last year, I had some pretty miserable crop failures across the board. We had a long, cold and wet spring followed by a summer that never really got "hot". Sure, it got into the 80s, but we normally have stretches of seriously hot weather, with temps in the upper 90s. By July, we can normally guarantee that water restrictions have started. Not this past year. It rained practically every.single.day.

My garden is right next to a bog that developed over a period of years. We've talked about installing a french drain to help alleviate the problem, but the toads lay their eggs in the bog in the spring. I don't want to mess around with their habitat, so I am working around the bog instead of draining it.

My goal last year was to grow 500 pounds of food. I barely grew 1/5th of that goal. The cold weather and constant rain brought fungus and root rot, and a late visit by another groundhog finished off the fall crops.

So this year, it is ON. 

I reinforced the fencing around the garden to prevent it from getting back in. We're clearing some of the brush behind the fence to keep it from climbing into the garden as well. 

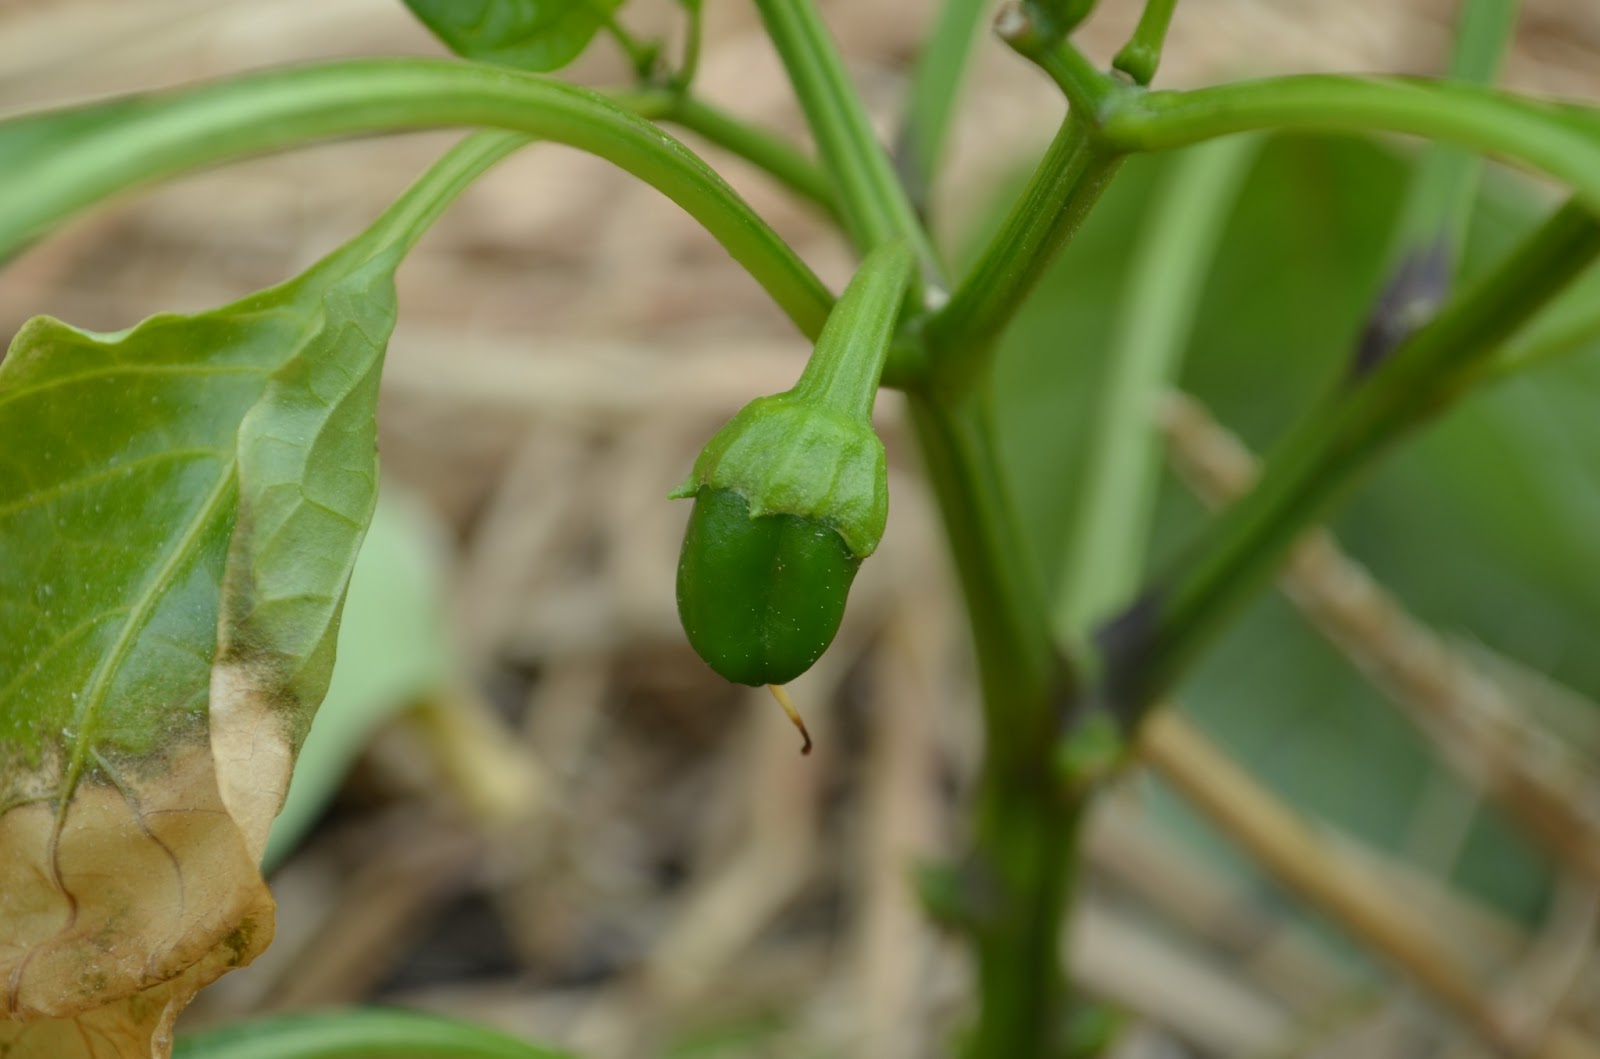
I decided to also give sweet potatoes a whirl this year. I couldn't get them to sprout to save my life last year, so I started them super early. I have no idea where I'm going to put them yet, though. They're related to the morning glory, and the vines can be quite invasive.


I've also got the beginnings of my spring crops started. They'll be going out under a row cover in a few weeks. I have 20 broccoli plants and 20 swiss chard plants growing strong.


I also want to give leeks a go this year. I just sowed them a couple of days ago, so not much to see there yet.

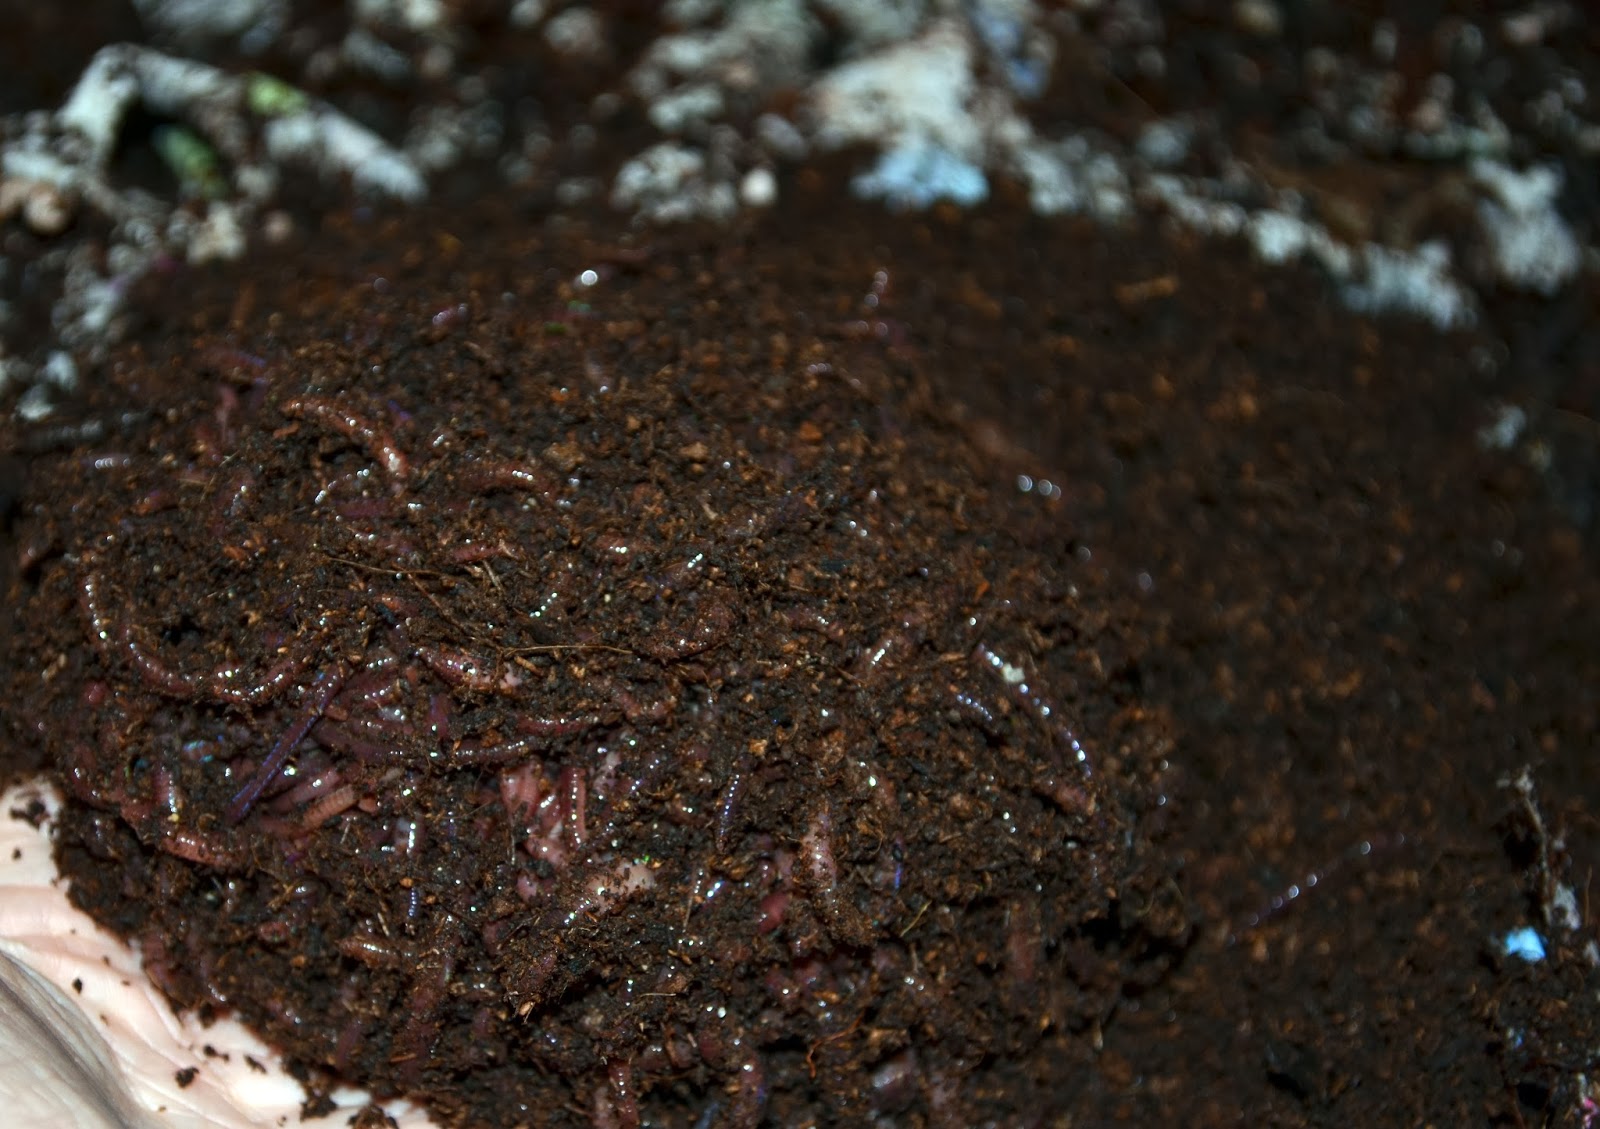
Quite possibly the most exciting news - the worm castings were ready to harvest! I got 6 pounds 8 oz of worm castings in 5 weeks. Snowflakes are all MUCH happier. There were a TON of eggs and wee tiny baby worms. Production of castings should speed up now that there is a population boom.

6 pounds 8 oz of worm castings

Wee baby worms!

I spent the day outside in the garden cutting honey suckle vines off the blackberries and I uncovered the strawberry plants. They're showing signs of new growth, and I didn't want to suffocate them with the mulch. 

Garden in January

Have you started prepping your garden for spring?


Amazing Adventures in Vermicomposting

(Warning - this post is not for the squeamish).

My friend Rainey got me hooked on Amazon lightening deals over the holidays. I checked them daily, even when I was done with my shopping, just to see what amazing deal was going to come up next.

I was ecstatic when a worm bin came up. (I know, you're excited too!) I jumped at the chance to get one on sale, but they were sold out before I could definitely make up my mind. See! Other people like worms too!

What is a worm bin and what is vermicompost you ask? In a nutshell - a worm bin is an indoor composter and vermicompost is worm poop. But, it isn't just any poop. It is the gold standard of poop! 

Vermicompost has 5x more nitrogen, 7x more phosphorus, and 11x more potassium than normal garden soil and is full of beneficial microbes. It doesn't burn plants like normal manures do, and doesn't need to be composted before use. (For the non-gardeners out there - horse and cow manure contain a ton of nitrogen and are "hot". If applied to plants without composting, it can burn the plants' roots.)

During the winter, our outdoor compost pile doesn't do much. I wanted to do something with all of the kitchen scraps we create over the winter (about 10 pounds a week!). So I ordered the bin, and a pound of red wiggler worms.

My oldest daughter named all of our worms "Snowflake", partly because it is winter, and partly because like snowflakes, no two worms are alike.

We received a pound of red wigglers, and added them to their new worm home. All seemed to be going swimmingly until I noticed a population boom of white mites. 


I knew going into this that it was very possible that other creepy crawlies would move in to our worm habitat, but I didn't know if white mites would do any harm to my beloved Snowflakes. I asked Dr. Google about the mites and read,

"White mites do not pose a danger to red worms. They feed on dead and dying worms."

"dead and dying worms"

Uh-oh.

In my rookie worm owning-ness, I'd overfed my poor Snowflakes. They supposedly can eat half a pound of food waste a day, and I'd been...making sure they weren't starving. In my doing so, I'd overfed them. Not only that, I'd also neglected to add new bedding to their bin when feeding them, so it was really wet.

Not good, Batman. Not good at all.

You'd have thought I was performing emergency surgery in my kitchen as fast as I ripped that worm bin apart. My 5 year old daughter was my assistant, and very politely (and quietly) said, "Mama, it smells like a zoo in here."

Now, I will be the first to say that I generally don't mind odors and smells that others may find unpleasant. I do enjoy the smell of a zoo. Sheep pens and horse stalls don't bother me. I am happiest when elbow deep in muck in the garden. Sweaty kids smell like puppies, sunshine and rainbows. 

But this smell...let's just say, there are no words in the English language to describe it. It had to be one of the absolute worse smells I've ever come across, and that is saying something.

This particular bin I have is comprised of stacked trays. As they're filled, a new tray is added. I'm still working on my first tray, which is stacked on top of a drip pan. The liquid in the picture is leachate. Normal worm bins have this as well, mine just also contains a good handful of dead worms due to my carelessness in feeding. If you look super closely, you can see a bunch of dead worms in that ghastly liquid, as well as a small pile of muck and an assortment of dead worms scattered on the pan.

Leachate is NOT worm tea. (Worm tea is "brewed" by soaking vermicompost in water, and using that to feed plants.) Leachate should be disposed of, especially if it smells bad (which in this case, is a significant understatement.)


I pulled everything apart and gave it a good scrubbing and set it outside in the sun. I then set to work on creating a new bed for my precious Snowflakes.

I was also unaware that I was supposed to turn the contents of the worm bin, similar to a compost pile. This helps to prevent an anaerobic environment. 

I lined a new bin with new paper. There are holes in the bottom of the bins which allow the worms to move up when I add a new tray on top. In the case of the previous tray, they'd composted the original lining, and fell through the holes to their doom.


Then I added LOTS of new bedding. SO MUCH BEDDING. I recycled my kids' homework and tore it into strips.


On top of that, I added everything from the previous bin, and mixed it up. 


Even with all of the rookie mistakes, they're definitely doing their job. Here's what the bin looked like a couple of weeks ago - 


They're also working on making new baby Snowflakes! Those 2 golden ball thingys are eggs!


Are you vermicomposting? Or are you pretty much horrified by the concept? 


Winter Grown Tomatoes

I love the science behind gardening almost as much as I love the actual act of gardening itself. This year I wanted to try to grow tomatoes indoors to get me through to July, when I'll *hopefully* be harvesting the beginning of the crop for 2014.

I started some "sweet baby girl" tomato seeds indoors about 6 weeks ago, and planted them a couple of days before Christmas. They're in 10 gallon Smart Pots which are filled with my homemade potting mix.


I used coir (a byproduct of the coconut industry), vermiculite, worm castings and rock dust. So far, the plants are looking fantastic, and are starting to set fruit.


In just over a month, I'll be sowing seeds for the spring crop - broccoli, swiss chard, onions, peas and beets! 

Have you started thinking about your 2014 garden yet?


Glitter Shoes DIY


My daughter has been eyeing some glitter shoes in a catalog, and desperately wants every single pair. $40 a pair is out of our budget, so I decided to make her some for Christmas.

I bought a few pairs of shoes during a B1G1 sale at Payless. Score! 

For this project, you'll need:

-a pair of shoes
-painter's tape (optional if you have a steady hand)
-Mod Podge
-glitter in your choice of color(s)
-a paintbrush
-a bowl
-something to protect your worktable. I used a grocery bag.
-waterproof sealer (not pictured)


Next, tape off the parts of the shoe you don't want glitter all over. 


Now it's time to mix up the glitter! I wound up using an entire tube of chunky glitter and an entire tube of superfine glitter. I like glitterific shoes, what can I say. Pour about 1/4 cup of Mod Podge into a bowl.


Add you glitter.


Stir!


Now the fun begins! Start painting light coats of the Mod Podge/glitter mix onto the shoe. You want light coats, because otherwise the Mod Podge will get glumpy and glumpy isn't fun. Brush a coat on, and then go do something else. (In my case, the breakfast dishes.)


When each coat dries and you can no longer see white Mod Podge, it is time for another coat. Keep going until you get the coverage that you want. It took 5 coats for these shoes to get completely red.


Keep your bowl covered in between coats so the Mod Podge doesn't dry out.


Tada! 5 coats and a bunch of drying time later, this is the end result. Carefully peel off the tape if you used it, and then let the shoes dry for at least 24 hours. Spray with a waterproof sealant (found at any craft store) to make these puppies puddle proof.


Happy glittering!


2400 Sale / Fan Gift Card Giveaway!

(I'm a terrible blogger, but that's for another post.)

I hit 2400 sales on Etsy and Fans on Facebook, and I couldn't have done it without YOU! 


To celebrate, I'm giving away a stack of gift cards to the shop! 


Enter to win 1 of the 5 gift cards being given away, in increments ranging from $25 to $5. Winners will be drawn Monday July 22. 

Good luck!


Gardening Win!

After last week's horribly depressing gardening fails, I tromped back outside today to remove the damaged plants from the frost. I replaced most of them with Sungold and Sunsugar tomato starts from the nursery (5 total) and replaced 2 damaged Cherokee Purple with 2 new Cherokee Purple. All in all, 7 out of 40 isn't horrible.

It's warmed up a bit, and things in the garden are looking much happier.

I noticed the first flowers on a Sungold plant a week ago, and today the blossoms dried up and dropped off. They revealed this:

Sungold tomato - first fruit formed 

Sungold tomato - first fruit formed
My hops are sending out lots of new growth, and I have two strong healthy bines coming from the rhizome.

Hops bines

I thought I had pulled all of the flowers off of the pepper plants, but obviously I missed one because this is what I found today:

Baby pepper

Most of the tomato plants are all getting their first set of flowers, which is about a week earlier than last year. This coincides with the respective planting dates - last year, I set the plants out a week later than I did this year. 

And just for fun, some flower pictures!


Garden Fail

It's been said that Thomas Jefferson kept detailed notes about his successes and failures in his garden at Monticello. It's also been said that he was one of the only gardeners to admit to as much failure as he had. Drought was often the cause of crop failure, at least according to A Rich Spot of Earth, a book about Jefferson's garden at Monticello (which is one of my favorite places to be).

So in honor of TJ, here's a post about a whole bunch of garden fail.

The past few weeks have been unseasonably cold. Our normal last frost date is April 15, and yet we got a frost a few days ago (late April). The last 2 years have had very warm springs, and one could say I was spoiled by how warm the springs were.

This year, I set out my tomatoes on April 9, very early. I started them early, so they were monsters and needed to go outside. The same goes for my peppers.

Well, let's just say that I learned a very important lesson in gardening this year. A late frost handed me my hat, so to speak. About 10% of my crop suffered frost damage, and I lost a couple tomato plants.


On top of that, at the beginning of the month, we had above average temperatures. Temps were well into the  high 80s - low 90s for almost an entire week, which caused my broccoli to button. (Buttoning is when broccoli forms a small head, much like a floret.) So I'll try broccoli again in the fall when things cool down.


Thomas Jefferson said the success of one crop outdid the failure of another. I purchased a few starts to replace the ones I'm going to lose due to frost damage, and am keeping them inside at night until early next week. Here's hoping that I have some successes in the garden this year to outweigh the loss of the broccoli and tomatoes.